


Hillbilly Brewing, EW Style
So you want a cool kegerator, on the cheap using a Craigslist Special. However, once you buy your used chest freezer it’s just too ugly to grace your garage? I had that very same problem. It started off looking like this:
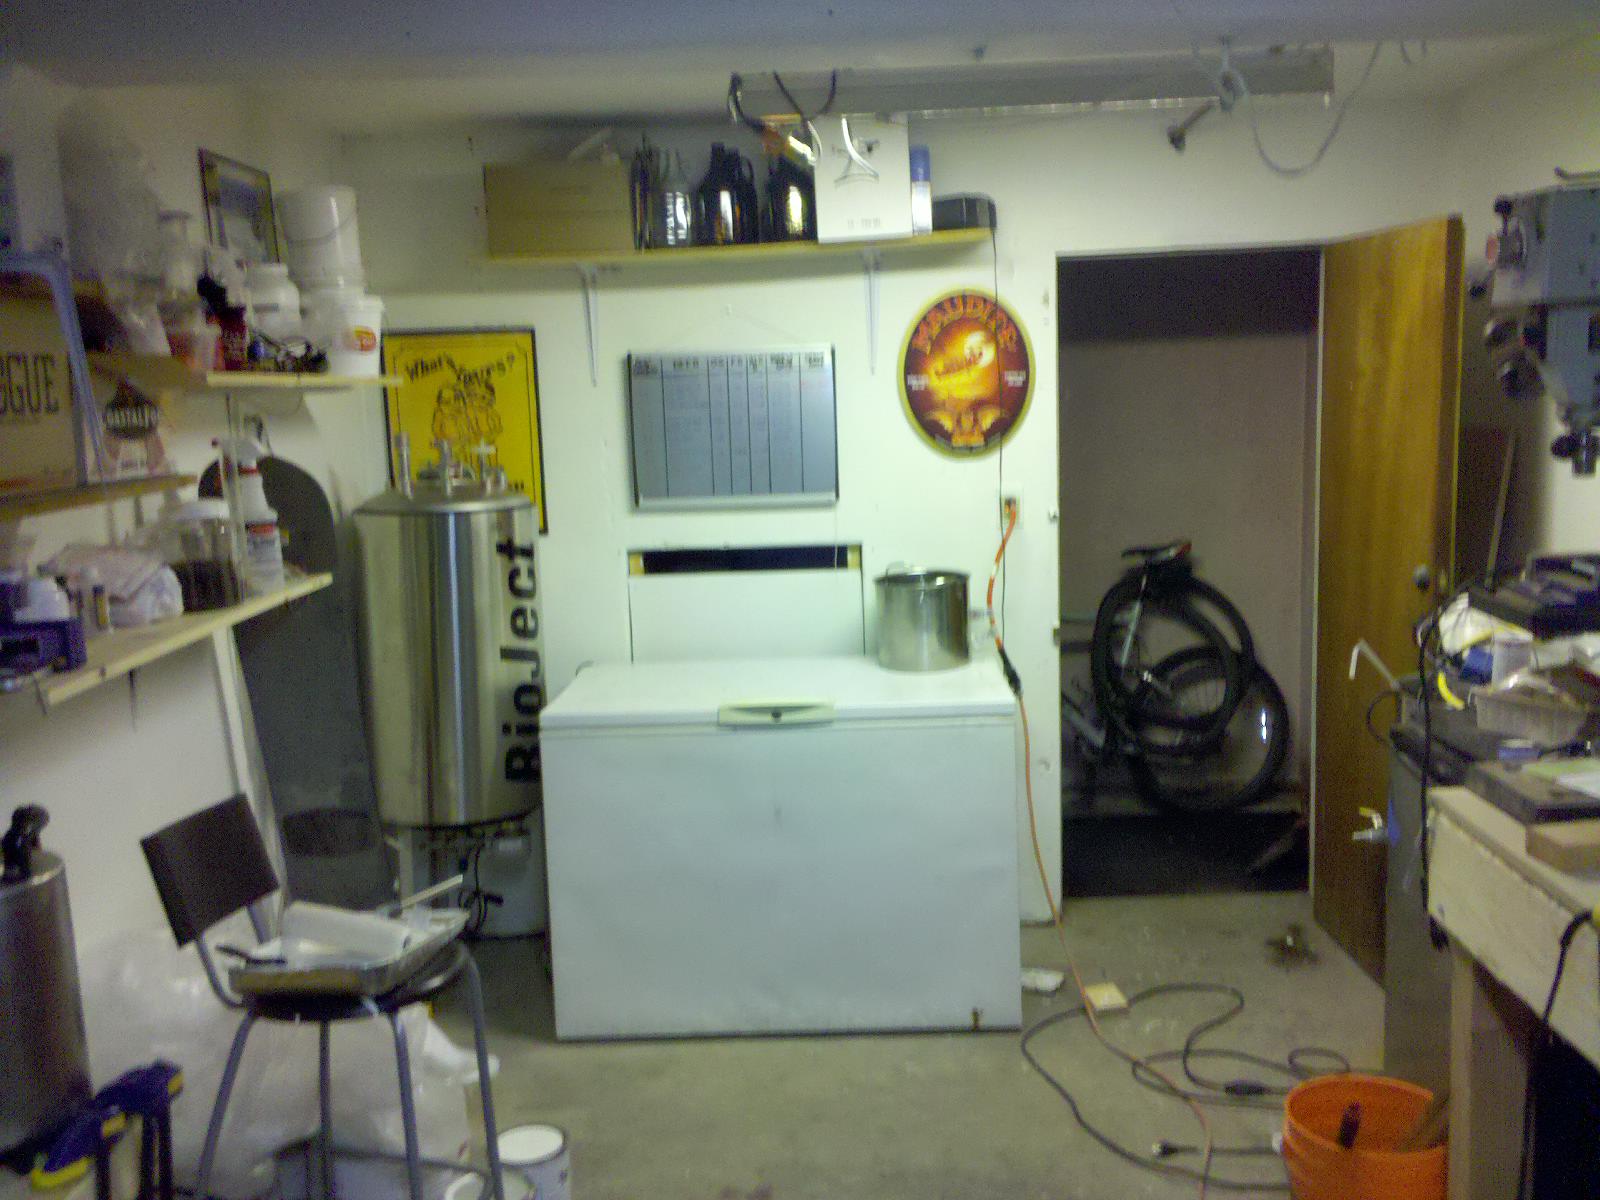
Ugly, beaten up chest freezer.
However, that’s simply not going to cut it. So one night not having enough to do I remembered I just happened to have a few rattlecans of Candy Apple Red paint laying around. Using a random oribtal sander, I scuffed up the exterior and got busy painting around 2am. When all the best decisions are made.
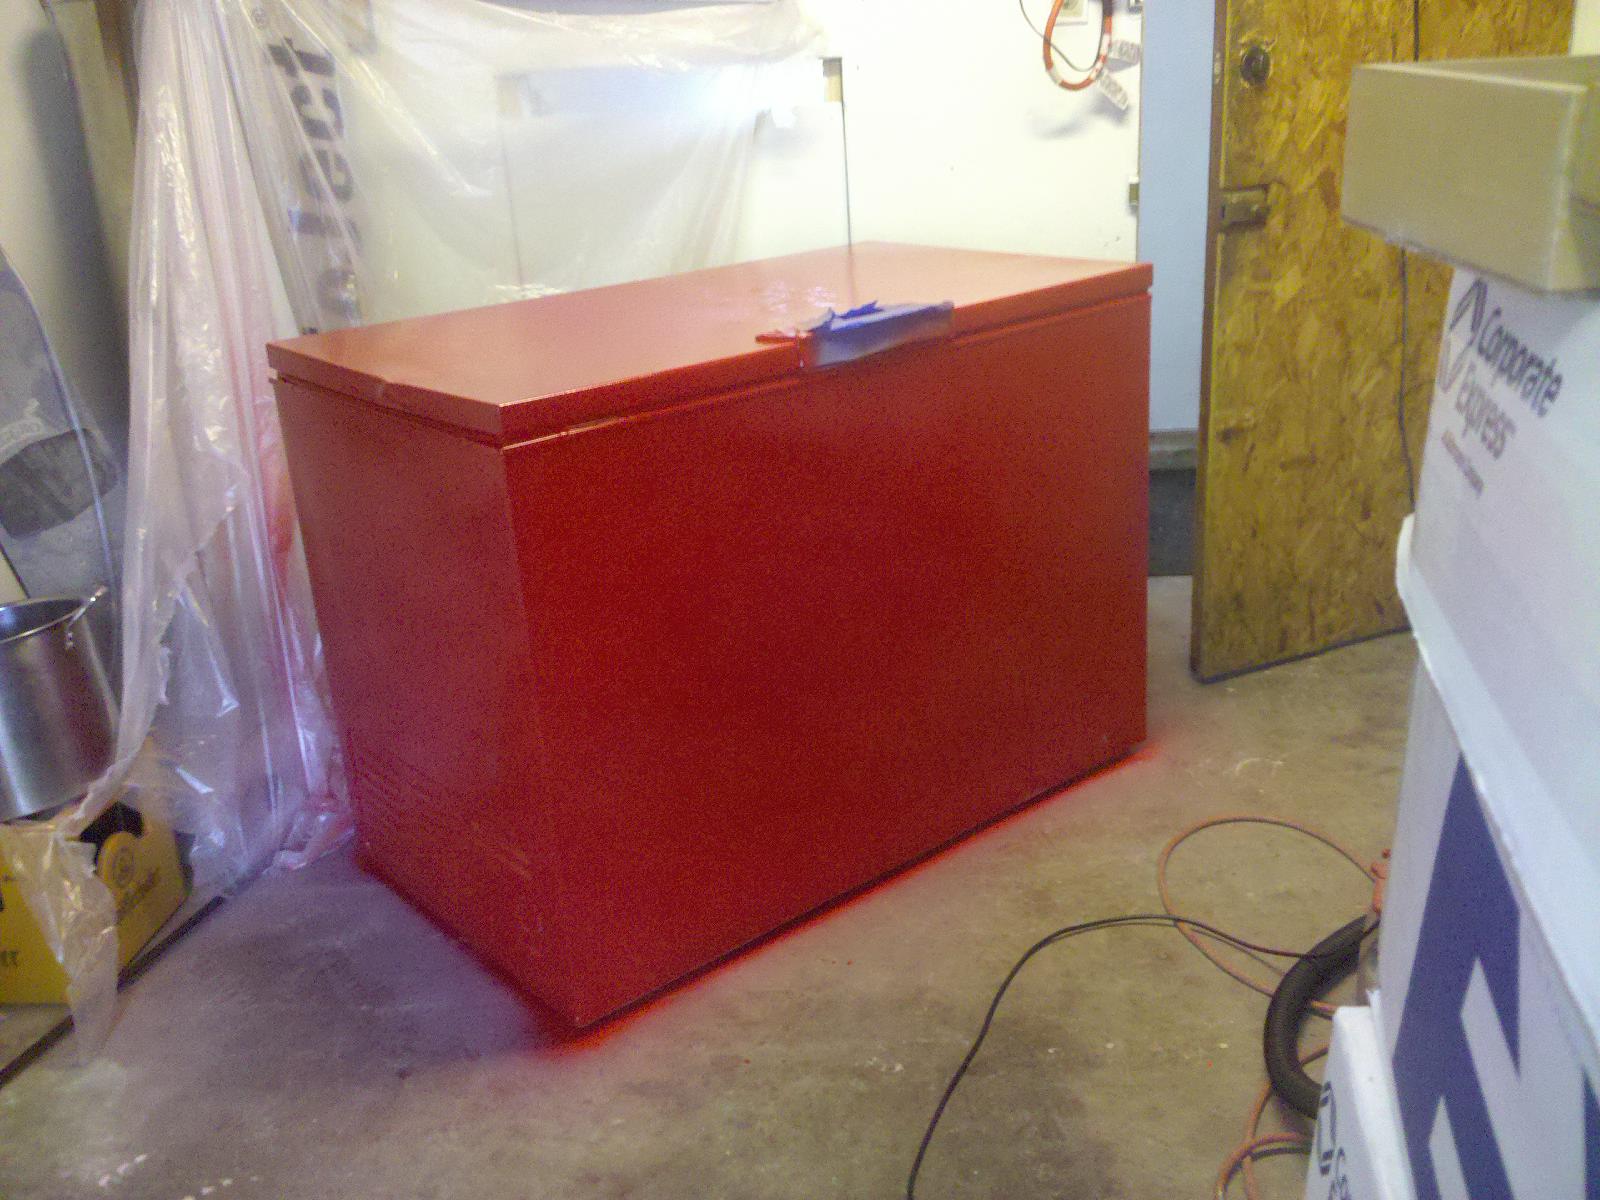
Candy Apple Awesome!
As a note to all you DIY-ers, it’s best to do this outside. I had a raging headache the next day. But damn, she’s pretty!!! Of course this doesn’t hide all the dents, but it sure brought up it’s value. Next up is building the collar. You want to measure the exterior dimensions of the freezer as those are the ones you want to match to make the lid sit correctly. Measure 3x just to make sure. Any cheap lumber will do, pine is fine if you plan to paint it. I used 2×8 knotty pine, it’s cheap and wood is a good insulator so you needn’t worry about any extra insulation.
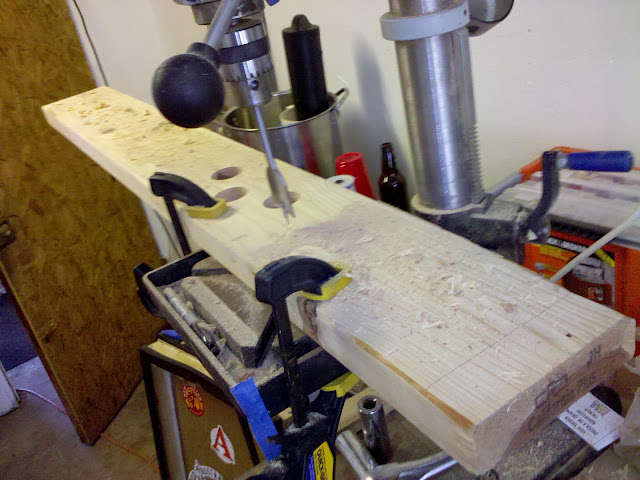
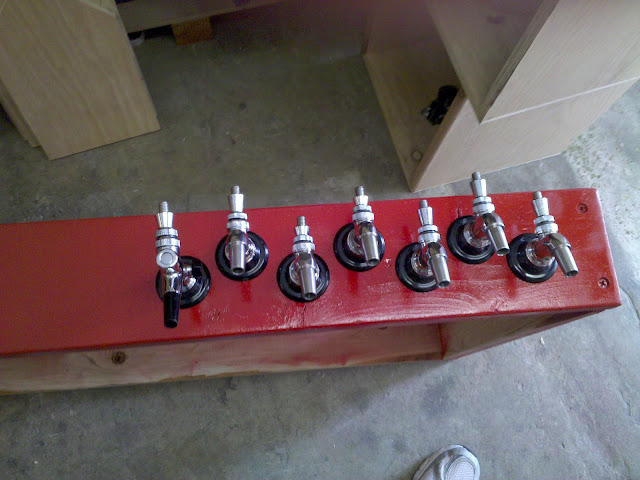
For a secure fit, use a drill press.
Then figure out the number of taps you want and their placement. I did some counter sinking as I wasn’t sure if the short shanks would fit. Turns out they would so no worries. Use a drill press and clamp down your work to make sure the shafts are perpendicular to the face of the wood.
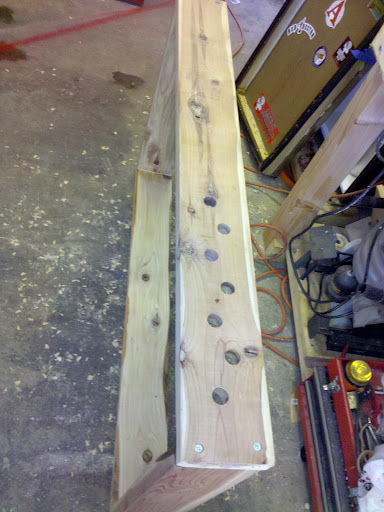
Assemble the Collar
Next assemble the collar. You should use some long screws. I also used Elmer’s wood glue just to make sure the bond is tight and sealed, but don’t use wood glue alone, butt joints are the weakest of all joinery.
Give this over night to setup and cure. Now would also be a good time to remeasure to make sure you didn’t screw anything up. If so, start over. If not, have a beer.
Painted Collar
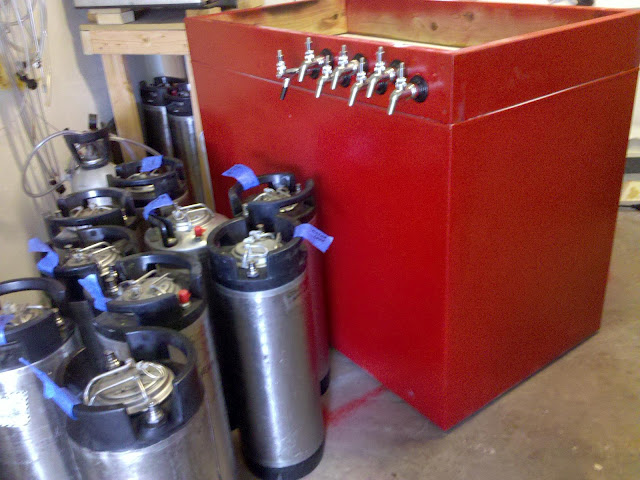
However, if you’re impatient like me, go ahead and paint that sucker while the glue dries. Then I went off to Toronado. Next day I attached all my shanks and faucets to make sure they fit. Better to do this now than when they’re on the keezer and it’s harder to make changes.
Attach the Collar
Next, remove the lid and hinges from the keezer. There should be 3 screws per hinge. Be careful as you take it apart. Do not detach the hinges from the lid. Now pop your collar (not your shirt collar) onto the freezer. I used 2 part epoxy mixed together and put a dab in the 4 corners and I laid a bead of silicon down the tops of the rails. In case this keezer died quickly, I wanted the option of removing the collar easily.
Mount the Lid
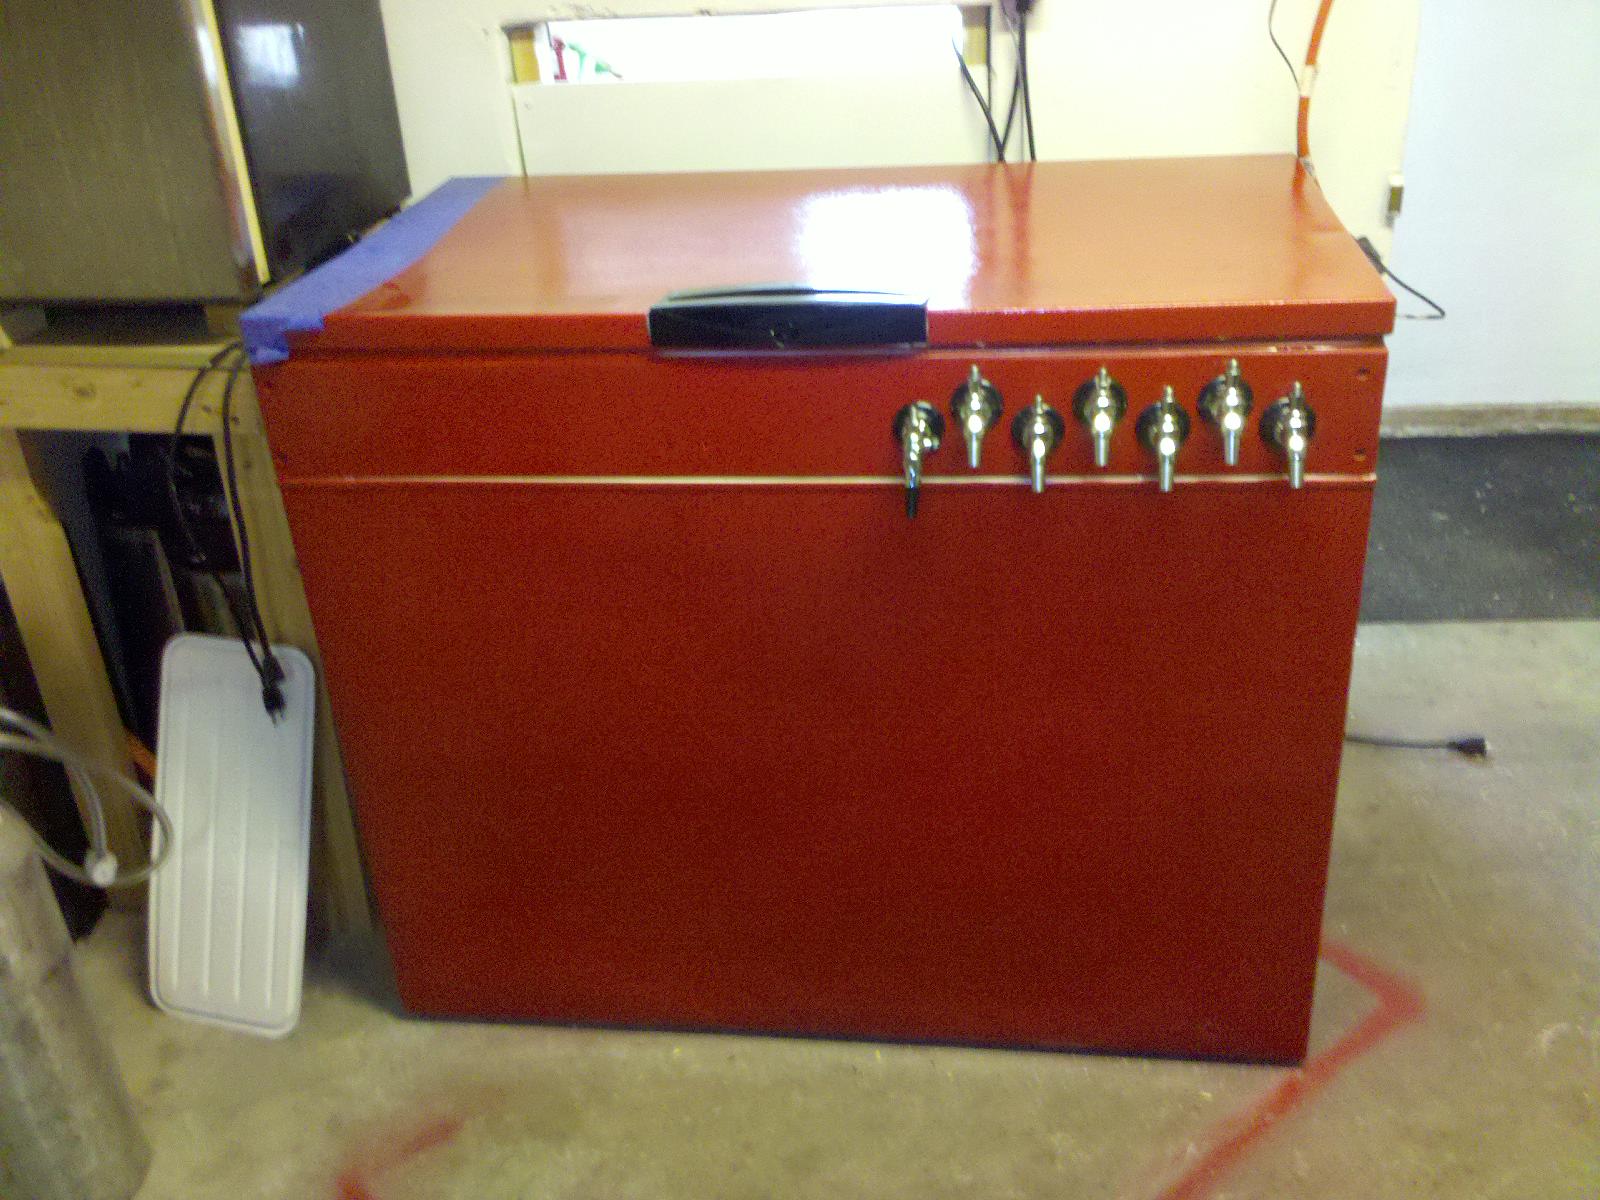
Mounting the lid is easy. Place it back on top (away from the wall) and move the hinge into place and with a hand drill, secure the top 2 screws. You will have to replace the metal screws with wood screws, about 1.5″ long. Do this for the other side. Now, instead of trying to drill into the back of your freezer and risk hitting a line, I simply used a drill bit to make 2 new holes on either side of the hinge near the bottom of the wood collar. Then attach the screws in there. This saves time and hassle. Trust me!
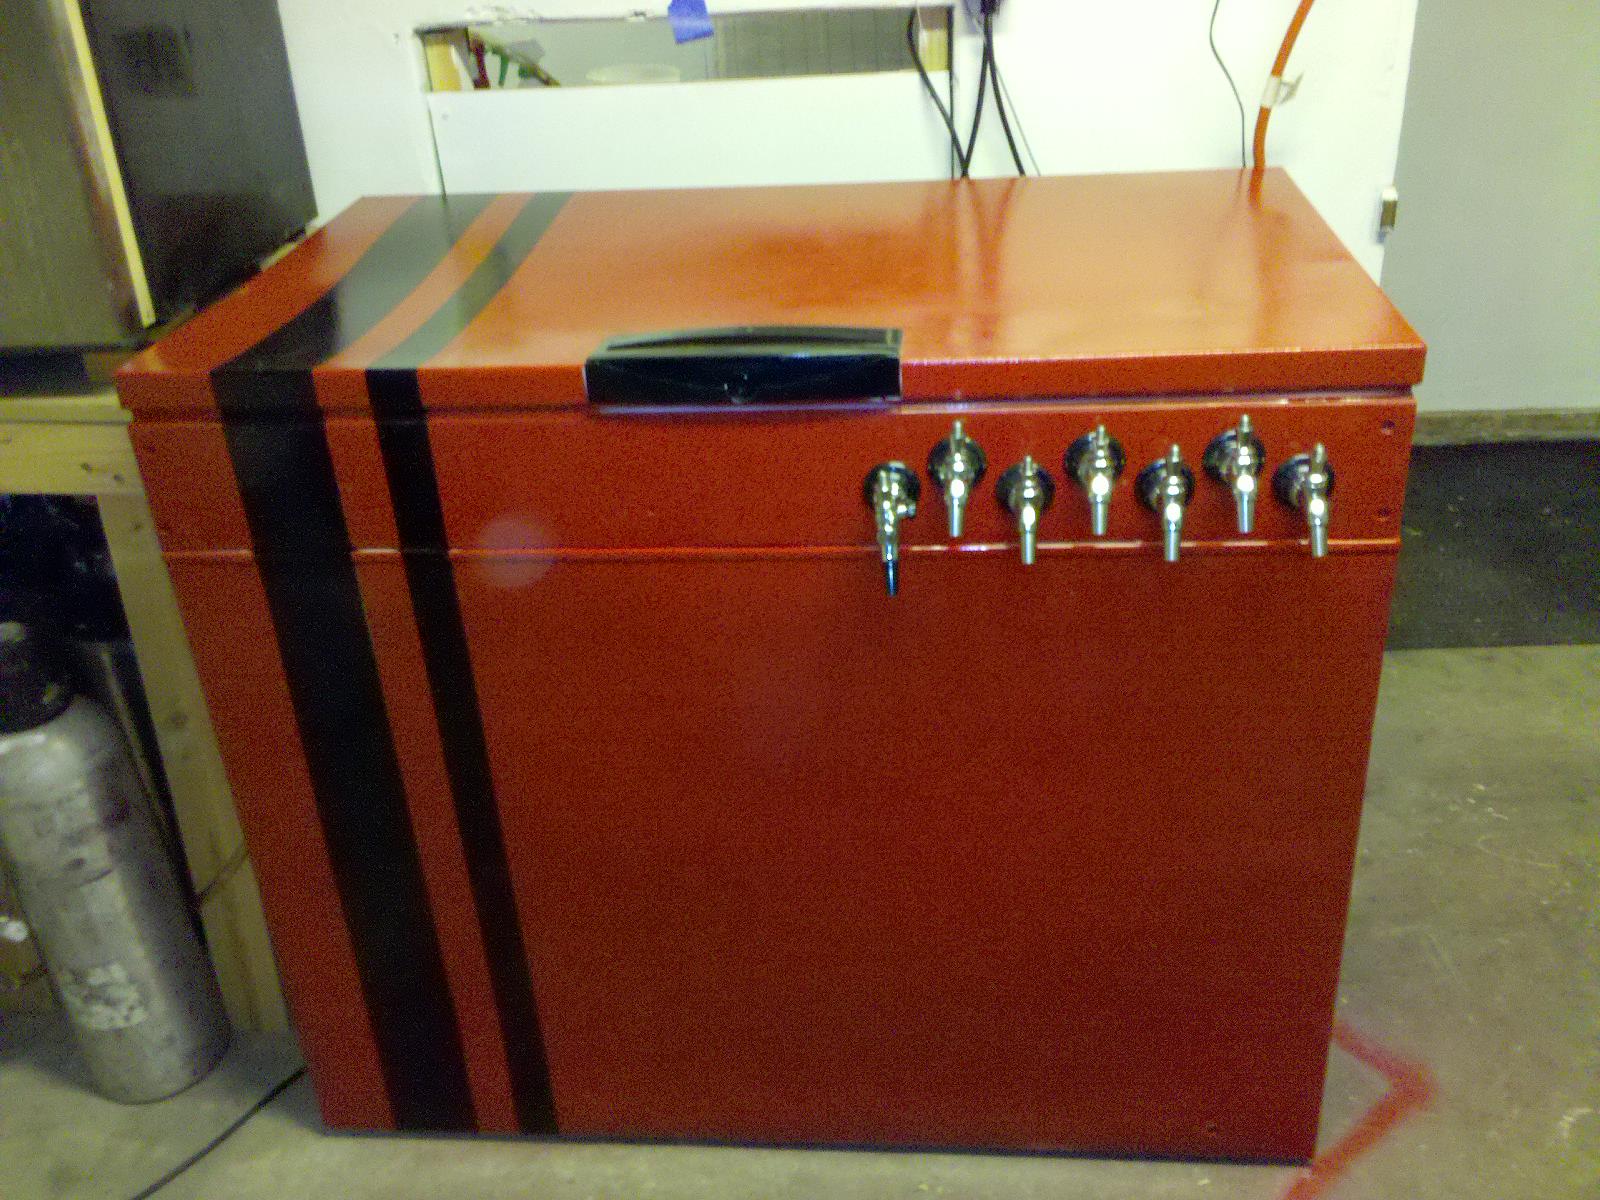
You’re probably wondering what on earth the blue painters tape is for. Well…as I said before, I get bored easily when left alone to my own devices at night. Candy Apple Red is cool and all, but wouldn’t this thing look better with racing stripes?
Hell Yes it Does!
You’re correct. Hell yes it does!
But EW! You knob, you don’t have some sort of fancy SS backsplash or drip tray. And you are correct. That would cost too much for a garage queen racing kegerator. Back to the Homeless Depot to pick up more supplies. In this case:
20″ SS mud tray
12 long zinc carriage bolts
liquid plastic coating
Using my handy dandy drill press and a lot of swearing, I drilled out holes along the top front and back, then threaded the carriage bolts through to create a tray. I used the liquid plastic dip coating to coat the exposed threads to protect the paint. A hole on either end is the perfect place to use some old rope (or battery cables) to then drape around the faucets.
But EW! It won’t drain. Thought of that too:

JB Weld Drip Tray
Using a spare shank SS tail piece, I drilled a 3/8″ hold from the bottom in. You want to do it this way so there aren’t any metal hairs that stick out and would prevent a good bond. Using JB Weld (this is a racing kegerator after all) I attached the tailpiece and let it cure over night. As you can see the carriage bolts that were used to create the tray. The next day I put a handle to broom upright, then put the inside of the tray near the drain on it, then pushed down, attempting to bow the steel down so the beer would flow to the drain. It sort of worked.

Almost done…
So I had some left over paint…. and decided the drip tray plain was tacky. Alternated the colors and boom: instant awesome! Not shown is the 1/2 gallon jug I use to catch the spilt beer.
What you say is that? Well good eye.
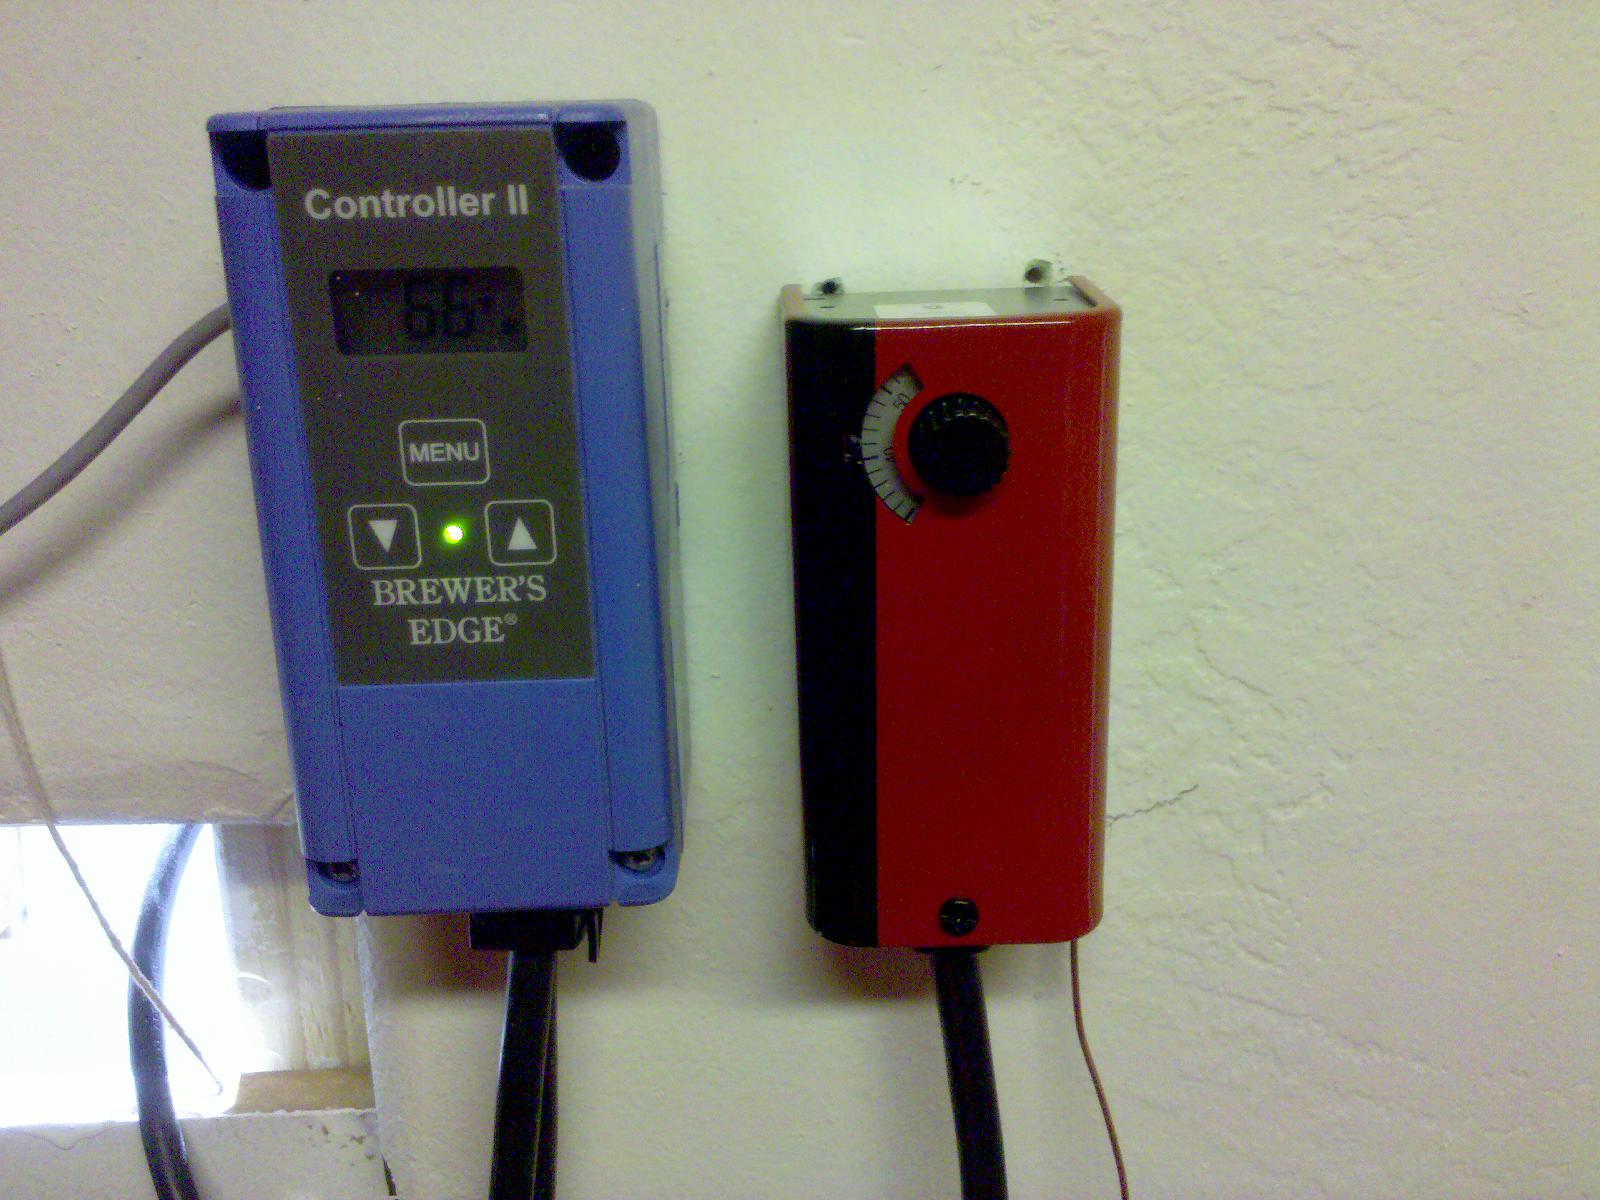
Matches!
I added an analog controller as the keezer doesn’t need the more expensive digital version I use for fermenting. A quick paint job there insures you know which controller controls what. Rev that sucker up!

Rats Nest
And here’s the internal. Rats Nest of tubing for gas/beer. I keep my CO2 tank (20lbs) outside so I can easily monitor how much gas I’m using and what the pressure is. I only brew ales and I rarely brew any style that requires a different pressure. I’m a big fan of KISS “Keep It Simple Stupid” philosophy.
And that Quaffers, is how you turn a CL junker into a Garage Queen.
-EW
